Beautiful New Kitchen That Still Doesn't Work? The Decisions Made Before Demo Day
July 13, 2026

Quick Answer: Whether a remodeled kitchen actually works is decided almost entirely before the first cabinet comes off the wall. The choices that matter are the ones nobody photographs: how wide the aisles are, where the appliance doors swing, how much counter sits beside the sink and the range, where the plumbing and circuits can realistically be moved to, how the hood is sized and vented, and where the light lands. Get those right on paper and the finishes take care of themselves. Get them wrong and no amount of quartz or custom cabinetry will fix it, which is why a surprising number of kitchens end up being remodeled twice.
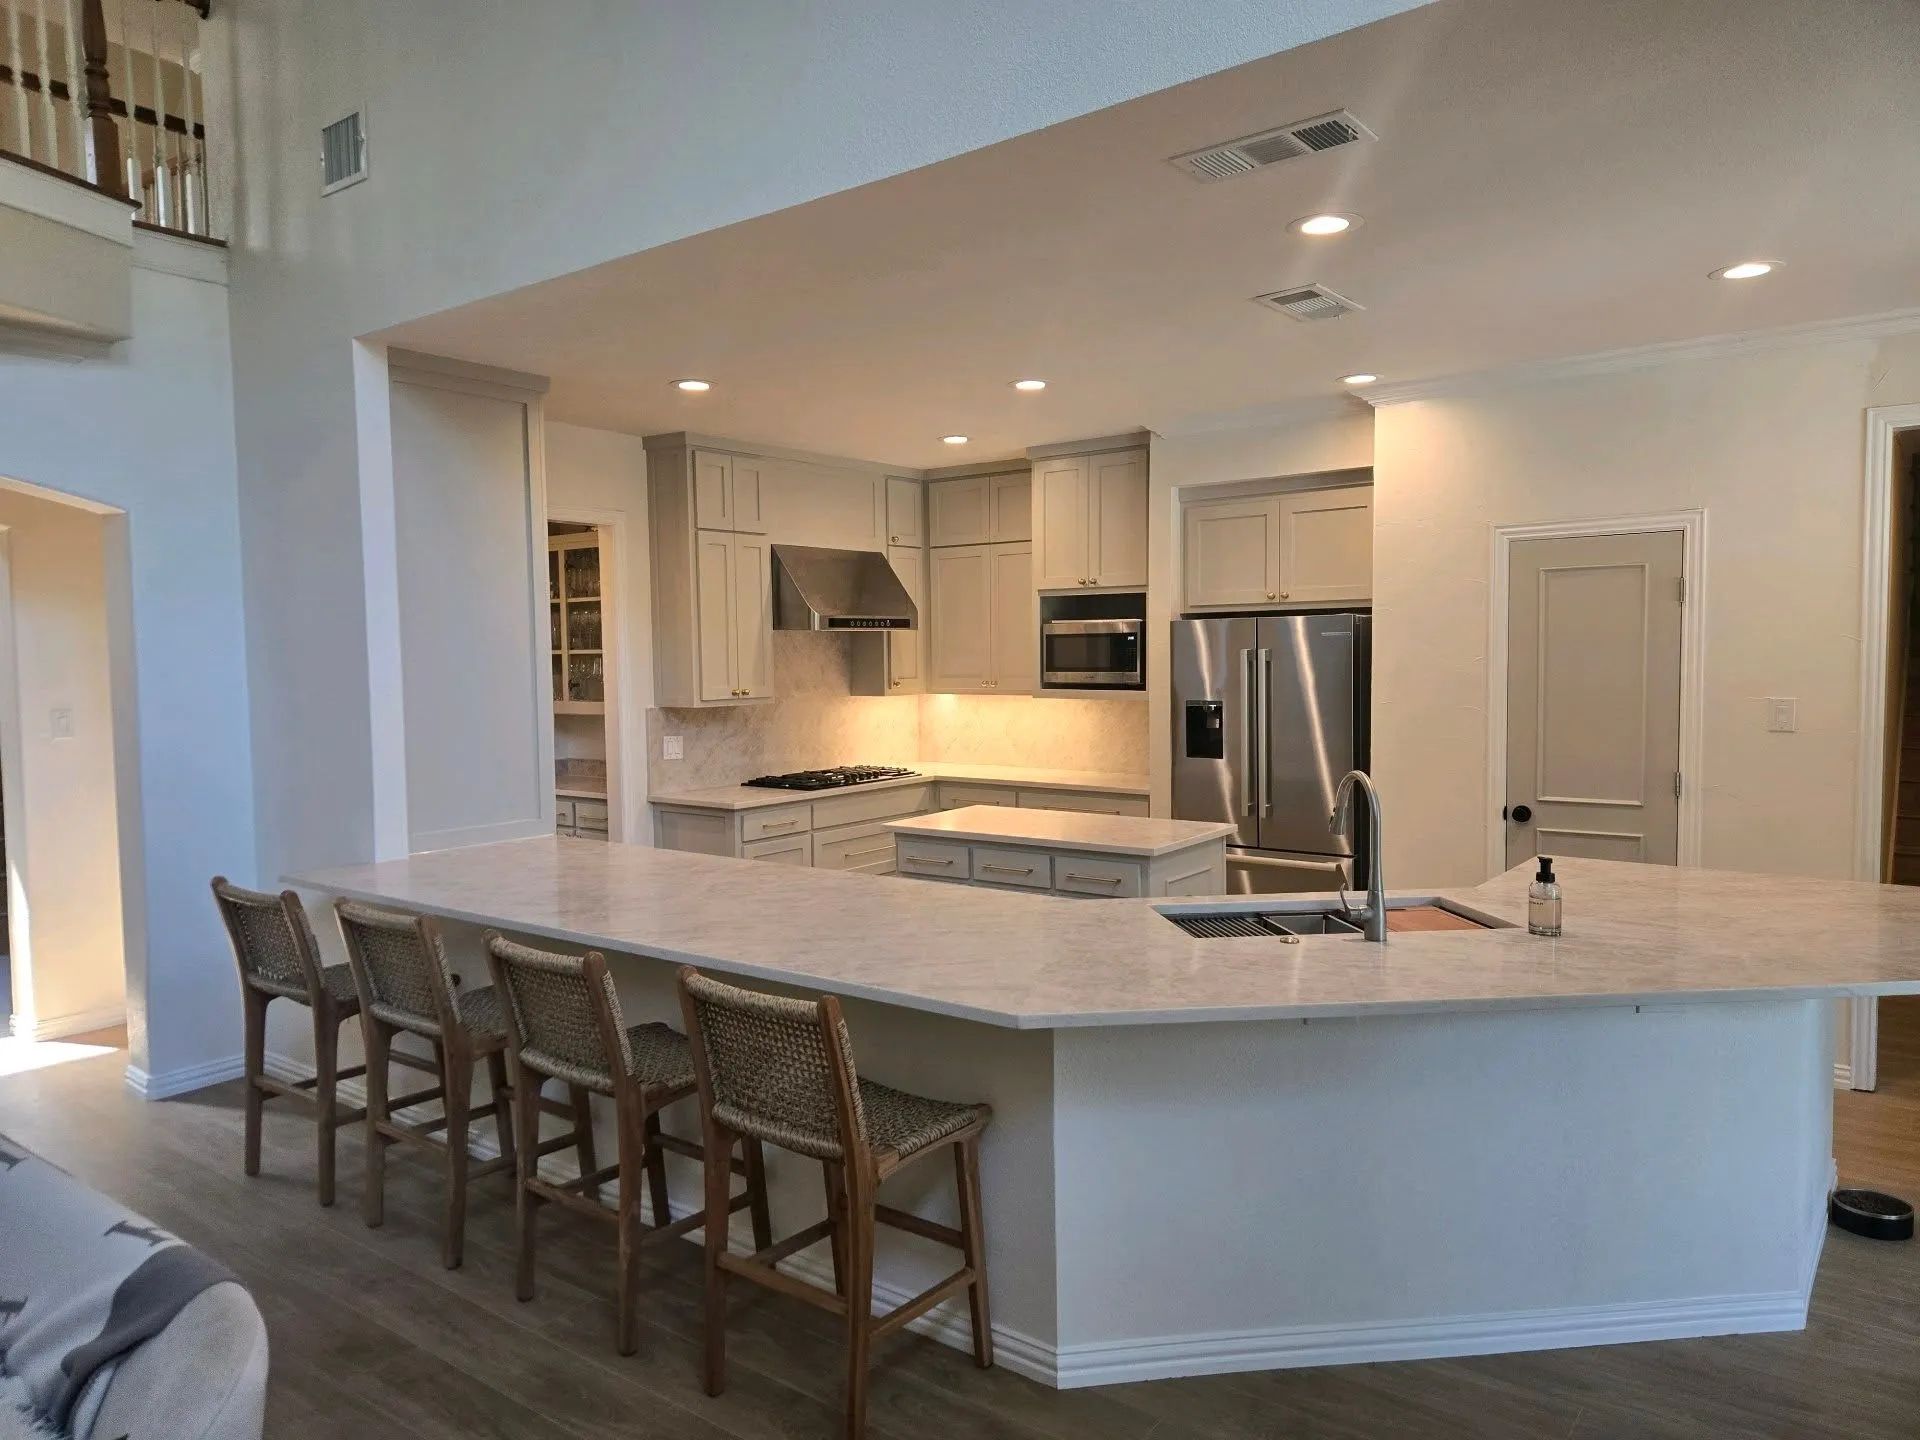
The cabinets are new. The counters are the ones you spent three weekends choosing. The tile went in straight, the hardware feels good in your hand, and the whole room photographs beautifully. Then you cook Thanksgiving dinner in it, and by four o'clock two people have collided at the dishwasher, the oven door cannot open because someone is standing at the island, the pot on the back burner is steaming up the ceiling, and you are chopping onions in your own shadow.
That kitchen was not built badly. It was decided badly, and it was decided long before anyone swung a hammer. The finishes are what you see, but the layout is what you live in, and layout is settled in the drawings. Here is what an experienced remodeler is working out on paper while you are still looking at door styles, and why those decisions are the ones that determine whether you love the room or quietly plan to redo it.
The Kitchen Looks Finished, and It Still Fights You
The tell is that the complaints are never about the materials. They are about traffic and reach. You back into someone every time you turn from the sink. There is nowhere to set the roasting pan down when it comes out of the oven. The trash pull-out blocks the path to the fridge. The pantry door and the refrigerator door hit each other. You have counters everywhere and no counter where you actually need one.
Every one of those is a geometry problem, and geometry is not something you can renegotiate after the cabinets are screwed to the wall. Once the boxes are set and the countertop is templated, the room is what it is. That is why the planning phase deserves more of your attention than the showroom does, and why a remodeler who slows you down at the drawing stage is doing you a favor.
Decision One: Zones Before Boxes
Most homeowners start by picking a shape, galley or L or U or island. The better starting point is what you actually do in there.
The work triangle is still the backbone
The classic guidance connects cooking, cleanup, and cold storage, keeping the loop tight. The three legs should total no more than 26 feet, with no leg shorter than 4 or longer than 9. Blow past that and you walk laps nightly.
Zones matter more than shapes
In practice, we plan a cooking zone, a cleanup zone, and a storage zone, keeping the paths between them clear of household traffic. No main route should cut through the work triangle, or the layout feels chaotic no matter the cabinets.
Tall obstacles break workflow
A full-height pantry, a tall oven cabinet, or the refrigerator should not sit between two primary work centers. Drop a floor-to-ceiling box in the middle of the run and you have cut the kitchen in half, forcing detours constantly.
Decision Two: The Aisles Decide Whether the Island Works
More kitchens are ruined by an island that is 6 inches too big than by any other single choice, and it happens because the island is drawn to fill the space rather than to leave the space.
42 inches is the floor for one cook
A work aisle, meaning the gap between counter fronts, tall cabinets, or appliances, should be at least 42 inches when one person cooks. Measure it face to face. Below that, you cannot fully open a dishwasher or oven door and still pass.
48 inches is what two cooks need
If more than one person cooks, or if the kitchen is genuinely a family gathering space, plan 48 inches. This is the number people cut first when they want a bigger island, and it is the number they most often regret cutting later.
36 inches is a walkway, not a work aisle
A simple pass-through with no appliances or work surface facing it can come down to 36 inches. The mistake is applying that walkway number to a working aisle, where an open dishwasher door then blocks the entire path between cabinets.
Seating needs its own clearance
If you are putting stools at the island, allow at least 32 inches behind a seated diner, 36 inches if someone needs to edge past, and 44 inches for normal walking. Stools that no one can get around are a daily irritation.
Tip: Before you approve a layout, tape it out. Run painter's tape on your existing floor for the island footprint and the counter fronts, then walk it, open your current oven door into it, and stand two people in it at once. Fifteen minutes of tape has saved more kitchens than any 3D rendering.
Decision Three: Landing Areas and the Doors That Collide
A kitchen is a series of places you set things down. Miss those and you will feel it every single day.
Beside the sink
Plan at least 24 inches of counter on one side of the sink and 18 on the other, with a continuous prep surface at least 36 inches wide next to it. That prep run is the most-used footage in the room, and the first thing sacrificed to a window.
Beside the range
Include a minimum of 12 inches of landing on one side of the cooking surface and 15 on the other. If the cooktop lives in an island, carry at least 9 inches behind it. Where two landing areas meet, take the larger and add 12 inches rather than sharing.
Beside the refrigerator and the oven
Allow at least 15 inches of landing on the handle side of the refrigerator and at least 15 inches next to or above the oven. This is where the sheet pan lands when it comes out at 425 degrees, and it needs to exist before you reach for it.
At the dishwasher
The nearest edge of the dishwasher belongs within 36 inches of the sink, with at least 21 inches of standing room between the open door and whatever sits at a right angle to it. Without that clearance, one person loading the dishwasher shuts the whole kitchen down.
Doors that fight each other
Appliance, cabinet, and entry doors all swing into the same finite floor. A refrigerator hinged against a wall will not open past 90 degrees, so the crisper drawers will not clear. Opposing oven and dishwasher doors cannot both open. These details surface on install day, far too late.
Decision Four: Where the Water and the Wires Actually Go
This is the decision that quietly sets the boundaries of everything else, and in North Texas it deserves real thought.
Moving a sink is not a line on a drawing
Most homes across Lewisville and the surrounding suburbs sit on a slab, and the kitchen drain runs in or under it. Relocating the sink to an island is a structural conversation, not a plumbing afterthought. Decide it in design, sequenced properly and coordinated with the flooring plan.
Gas, water, and vent lines follow the appliances
Move the range and the gas line moves with it. Add a pot filler, a second prep sink, or a beverage fridge, and there are supply and drain implications to plan for. Every one of these is easy at framing and considerably more awkward to handle later.
Circuits get planned, not discovered
Older suburban kitchens were wired for a fraction of what a modern kitchen carries. New layouts want dedicated circuits for the range, oven, dishwasher, disposal, and refrigerator, plus counter capacity. If you are adding an island, its outlets must be planned before the cabinets are built.
Walls are not always optional
If the plan opens the kitchen into the living room, whether that wall carries load is answered by inspection, not by knocking on it. In many North Texas homes it holds up joists or roof structure, so removing it means a beam and proper support designed beforehand.
How the Plan Gets Pressure-Tested Before Demo
The whole point of the design phase is to make the mistakes on paper, where they are free to fix.
That means dimensioning every aisle and every landing area, not eyeballing them. Confirming the actual specification sheets for the appliances you are actually buying, because a French-door refrigerator and a side-by-side have very different door swings and depths. Walking the door swings in the drawing, one by one. Finding the duct route for the hood before the hood is ordered. Verifying whether the wall you want to open is carrying load. Locating the existing drain, gas, and electrical service and deciding, deliberately, what moves and what stays. And laying the lighting and switching over the plan before anyone talks about backsplash tile.
None of that is glamorous, and none of it shows up in the finished photos. It is also the entire difference between a kitchen you enjoy for twenty years and one that gets torn out again in five.
Frequently Asked Questions
How wide does the aisle around a kitchen island really need to be?
Plan at least 42 inches between the island and any counter or appliance for one cook, and 48 inches for two. A 36-inch gap is a walkway that will not clear an open oven door.
Can I move my kitchen sink to the island?
Usually yes, but it is a design decision, not a last-minute change. In a slab home, the drain must be routed to the new location, planned through the slab and coordinated with flooring in the drawings.
What size range hood do I need?
Match airflow to the cooking surface. A benchmark for a wall hood is about 100 CFM per linear foot, so roughly 250 for a 30-inch range. Duct it outside, since recirculating units provide no real ventilation.
Why does my kitchen feel dark even with plenty of ceiling lights?
Because overhead light comes from behind you at a counter, so your body shadows the work surface. The fix is layered lighting, especially under-cabinet task lighting in front of you, plus dimmable ambient and accent light.
How much counter space should sit next to the sink and the range?
Plan at least 24 inches of counter on one side of the sink and 18 on the other. At the range, allow 12 and 15 inches, and 15 inches of landing beside the refrigerator.
Do I have to keep the kitchen where it is?
Not necessarily, but relocating a kitchen means moving plumbing, gas, electrical, and ventilation, and in a slab home those moves carry real scope. Have someone assess what can move before deciding, not halfway through demolition.
Getting It Right the First Time
A kitchen that works is not the product of better cabinets. It is the product of better decisions, made early, in the order that lets each one inform the next. Zones before shapes. Aisles before islands. Landing areas and door swings before appliances get ordered. Plumbing, circuits, and structure understood before a wall comes down. Ventilation sized to the cooking and vented outside. Lighting drawn while the walls are still open on paper.
Do that work and you get a room that disappears into your life, where everything is where your hand expects it and two people can cook without negotiating. Skip it, and you get a kitchen that looks like the picture and behaves like the old one. The finishes are the easy part. The decisions before demo day are the ones that decide.
Plan the kitchen before you demo it — A kitchen you actually love to cook in comes from the work that happens before the first cabinet comes down: dimensioned aisles and landing areas, appliance door swings walked through on the drawing, a hood sized to your range with a real duct path, plumbing and circuits mapped against a slab foundation, and lighting laid out in layers. Serving Lewisville, Texas, Champion Home Remodeling & Design
has spent more than 50
years remodeling North Texas kitchens with full in-house carpentry, cabinetry, flooring, tile, electrical, and plumbing, which means the layout, the utilities, and the finishes are all coordinated by one team committed to quality workmanship and on-time completion. Reach out to start with a design conversation and get a kitchen that works the first time.